Shopify Scripts to Functions Migration Guide
I’ve been avoiding learning how to use Functions for a while now but as the Scripts deprecation date (August 13, 2024) looms closer, I’ve decided to invest some time to learn how to set things up.
At first glance, it looks like the only way to use Functions is inside of a full blown Shopify app. The thought of letting a client know that they’ll have to purchase hosting for an app and pay a monthly fee just to replace functionality they currently get for free with Scripts rubs me the wrong way.
Luckily, we can use an extension-only app to avoid having to create a proper app, which means we don’t have to worry about setting up all the app boilerplate, setting up a server, dealing with authorisation and developing app UI pages etc.
What I’ll be detailing in this blog post is how to get started with Functions and translating an existing Ruby-based Script into Javascript which will be used by a Function and internally compiled into WebAssembly.
Example Script
Here’s the Script I’ll be using as an example:
BULK_DISCOUNTS = [
  {
    quantity: 10,
    discount: 20.0,
    message: "20% off 10 or more"
  },
  {
    quantity: 40,
    discount: 30.0,
    message: "30% off 40 or more"
  }
]

cart_lines_quantity_total = 0

bulk_discount_active = nil

Input.cart.line_items.each do |item|
  cart_lines_quantity_total += item.quantity
end

BULK_DISCOUNTS.each do |discount|
  if cart_lines_quantity_total >= discount[:quantity]
    bulk_discount_active = discount
  end
end

unless bulk_discount_active
  Output.cart = Input.cart
  exit
end

Input.cart.line_items.each do |item|
  item.change_line_price(item.line_price - (item.line_price * (bulk_discount_active[:discount] / 100)), message: bulk_discount_active[:message])
end

Output.cart = Input.cart
This Script applies a discount to all line items if the total line item quantity reaches a certain threshold based on a config object. E.g. If total cart item quantity is 1 then no discount is applied, if total cart item quantity is 10 or more then apply a 20% discount to all line items, if total cart item quantity is 40 or more then apply a 30% discount to all line items.
Creating the app
To get started with migrating the Script to a Function, I’ll assume you have the following:
- Shopify Partners account
- Shopify development store
- Installed Node.js 16 or higher
- Installed Shopify CLI 3.0 or higher
Start off by opening up Terminal and entering the following command:
npm init @shopify/app@latestThis will create a new app directory on your local machine, give it a name e.g. “tom-blanchard-functions-test”:

Next, choose the “Start by adding your first extension” option:

This will create the app directory for you:
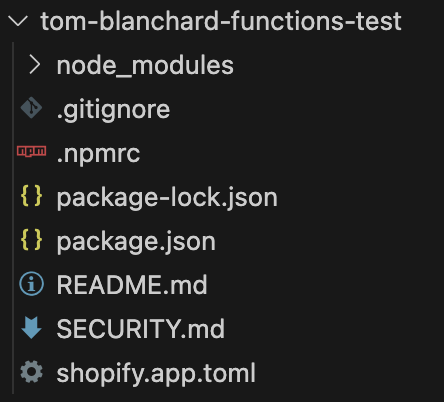
Deploying the app
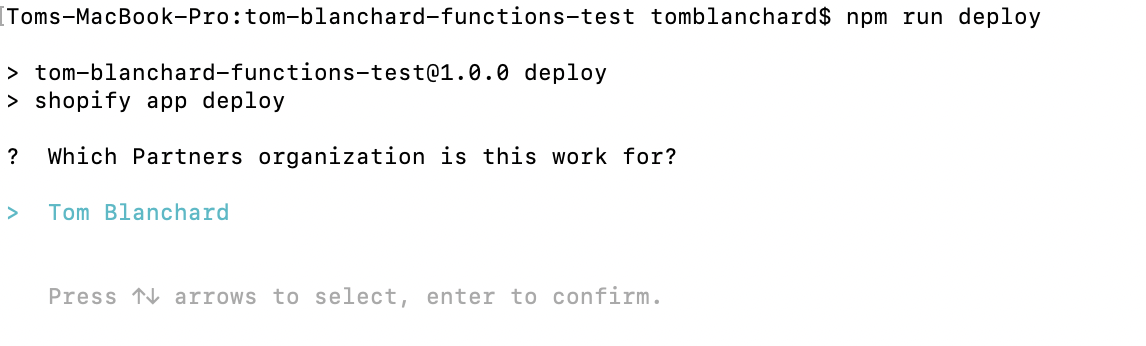
Navigate to this directory in Terminal and run the following command:
npm run deployThis will create the app on your Shopify Partners account, choose the Partners organization you want the app to be associated with:
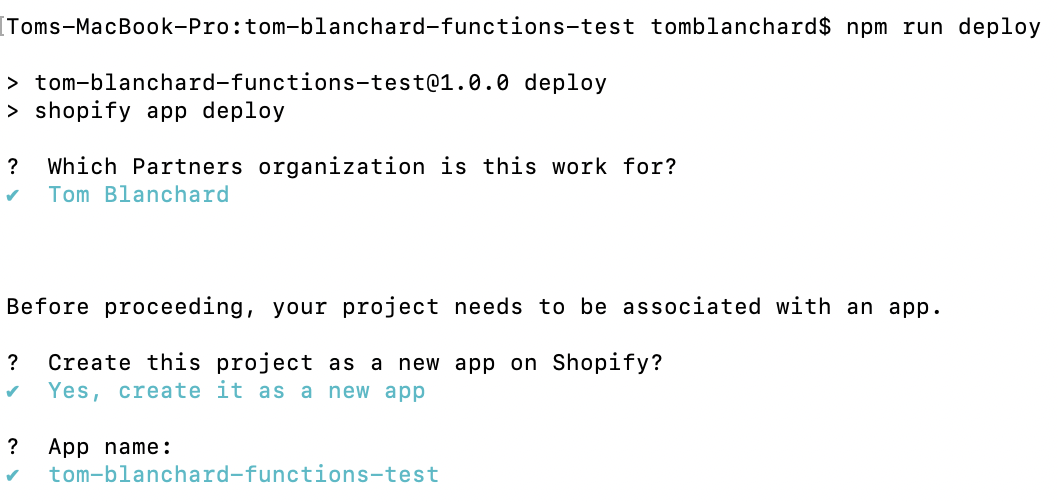
Next, choose the “Yes, create it as a new app” option:

Next, give it a name e.g. “tom-blanchard-functions-test”:
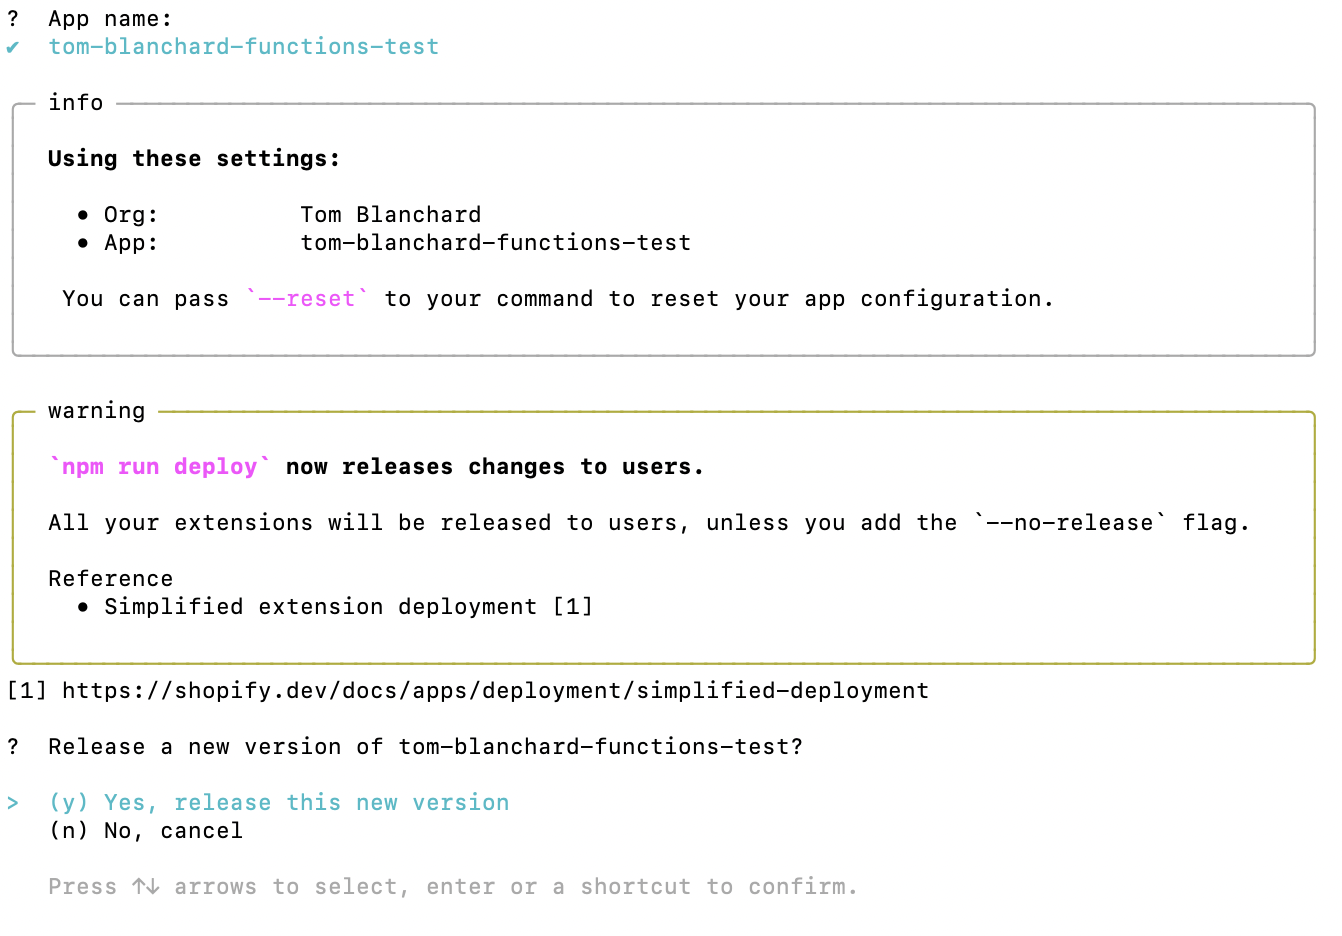
Next, choose the “Yes, release this new version” option:
You should now be able to see this app listed under Shopify Partners -> Apps:

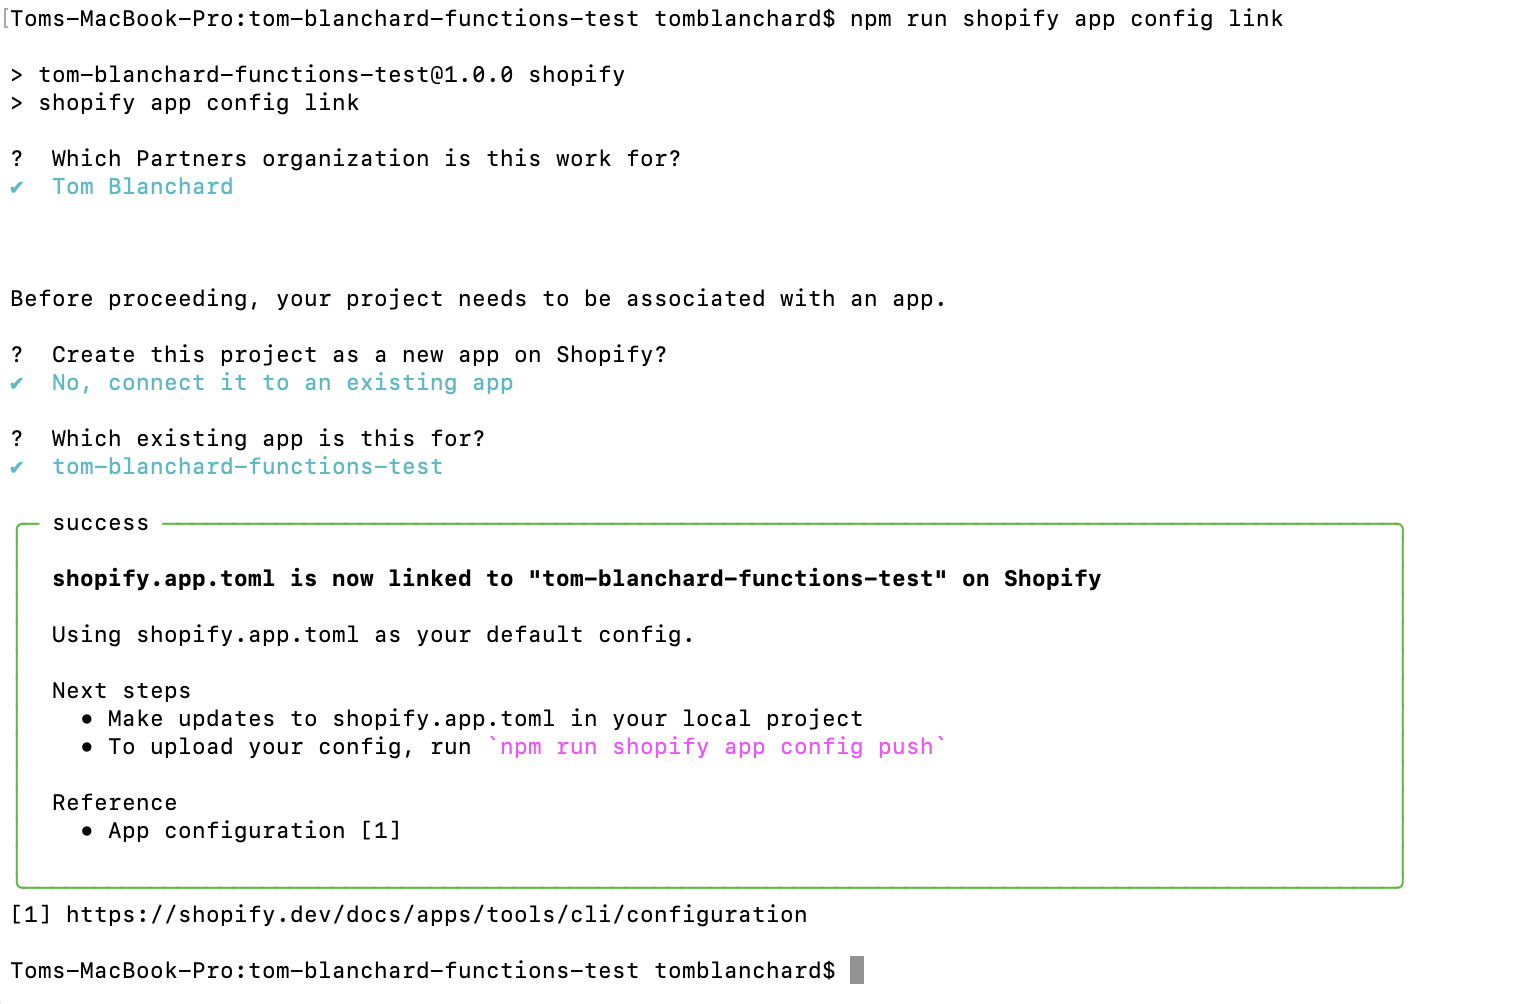
Next, run the following command:
npm run shopify app config linkSelect the Partners organization you chose before then choose “No, connect it to an existing app” and find the app you created in the above steps. This will pull down your remote app config and update your local “shopify.app.toml” file:
Creating the app extension (Function)
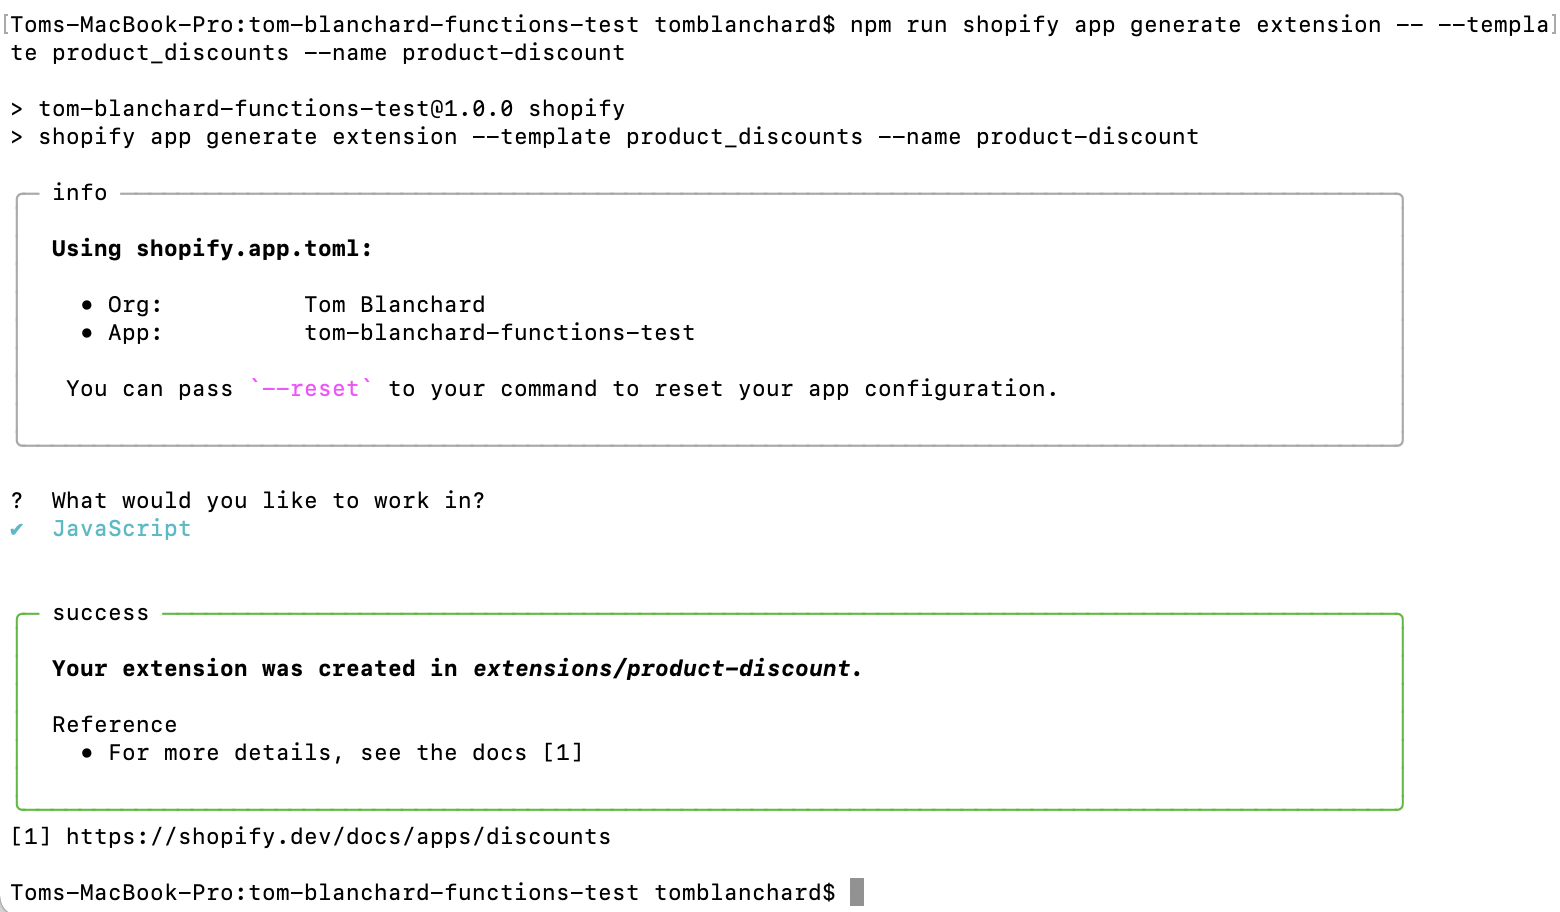
Run the following command:
npm run shopify app generate extension -- --template product_discounts --name product-discountChoose the “Javascript” option:

This will create a new directory “extensions/product-discount” which will house the configuration and logic to this specific Function:
Next, open the file “shopify.app.toml” and change the scopes value to "write_products, write_discounts":

Open the file “extensions/product-discount/shopify.extension.toml” and change API version to “2023-10”:

Open the file “extensions/product-discount/input.graphql” and replace it with this:
query Input {
  cart {
    lines {
      quantity
      merchandise {
        __typename
        ...on ProductVariant {
            id
        }
      }
    }
  }
  shop {
    metafield(namespace: "tom-blanchard-functions", key: "config") {
      type
      value
    }
  }
}
Open the file “extensions/product-discount/src/index.js” and replace it with this (this is a direct code translation of the original Ruby-based Script):
import { DiscountApplicationStrategy } from "../generated/api";

var EMPTY_DISCOUNT = {
  discountApplicationStrategy: DiscountApplicationStrategy.First,
  discounts: [],
};

var BULK_DISCOUNTS = [
  {
    quantity: 10,
    discount: 20.0,
    message: "20% off 10 or more"
  },
  {
    quantity: 40,
    discount: 30.0,
    message: "30% off 40 or more"
  }
];

export default (input) => {
  var config = BULK_DISCOUNTS;

  var targets = input.cart.lines
    .filter((line) => line.merchandise.__typename == 'ProductVariant')
    .map((line) => {
      var variant = line.merchandise;

      return {
        productVariant: {
          id: variant.id
        }
      }
    });

  var cartLinesQuantityTotal = input.cart.lines.reduce((total, line) => {
     total += line.quantity;
    return total;
  }, 0);

  var bulkDiscountActive = config.find((bulkDiscount) => {
    return cartLinesQuantityTotal >= bulkDiscount.quantity;
  });

  if (!bulkDiscountActive) {
    console.error('No cart lines qualify for this discount.');
    return EMPTY_DISCOUNT;
  }

  return {
    discounts: [
      {
        targets,
        value: {
          percentage: {
            value: bulkDiscountActive.discount
          }
        },
        message: bulkDiscountActive.message
      }
    ],
    discountApplicationStrategy: DiscountApplicationStrategy.First
  };
};
Now run the following command:
npm run shopify app function schema -- --path extensions/product-discountThis uses the API type and version of your Function, as defined in your extension TOML file, to generate the latest GraphQL schema. The schema is written to the schema.graphql file.
Now run the following command:
npm run shopify app function typegen -- --path extensions/product-discountThis creates GraphQL types based on your input query for a Function written in JavaScript.
Now run the following command and choose “Yes, confirm changes”:
npm run shopify app config push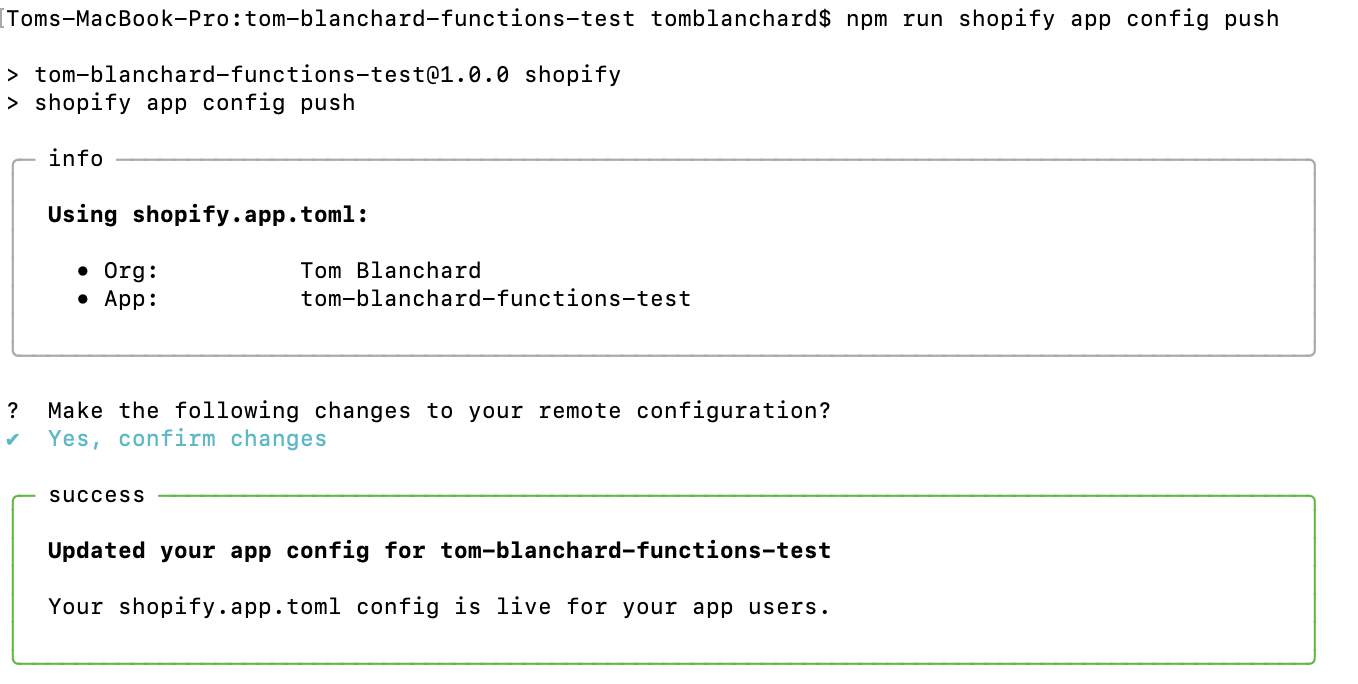
Deploying the Function
Run the command:
npm run deploy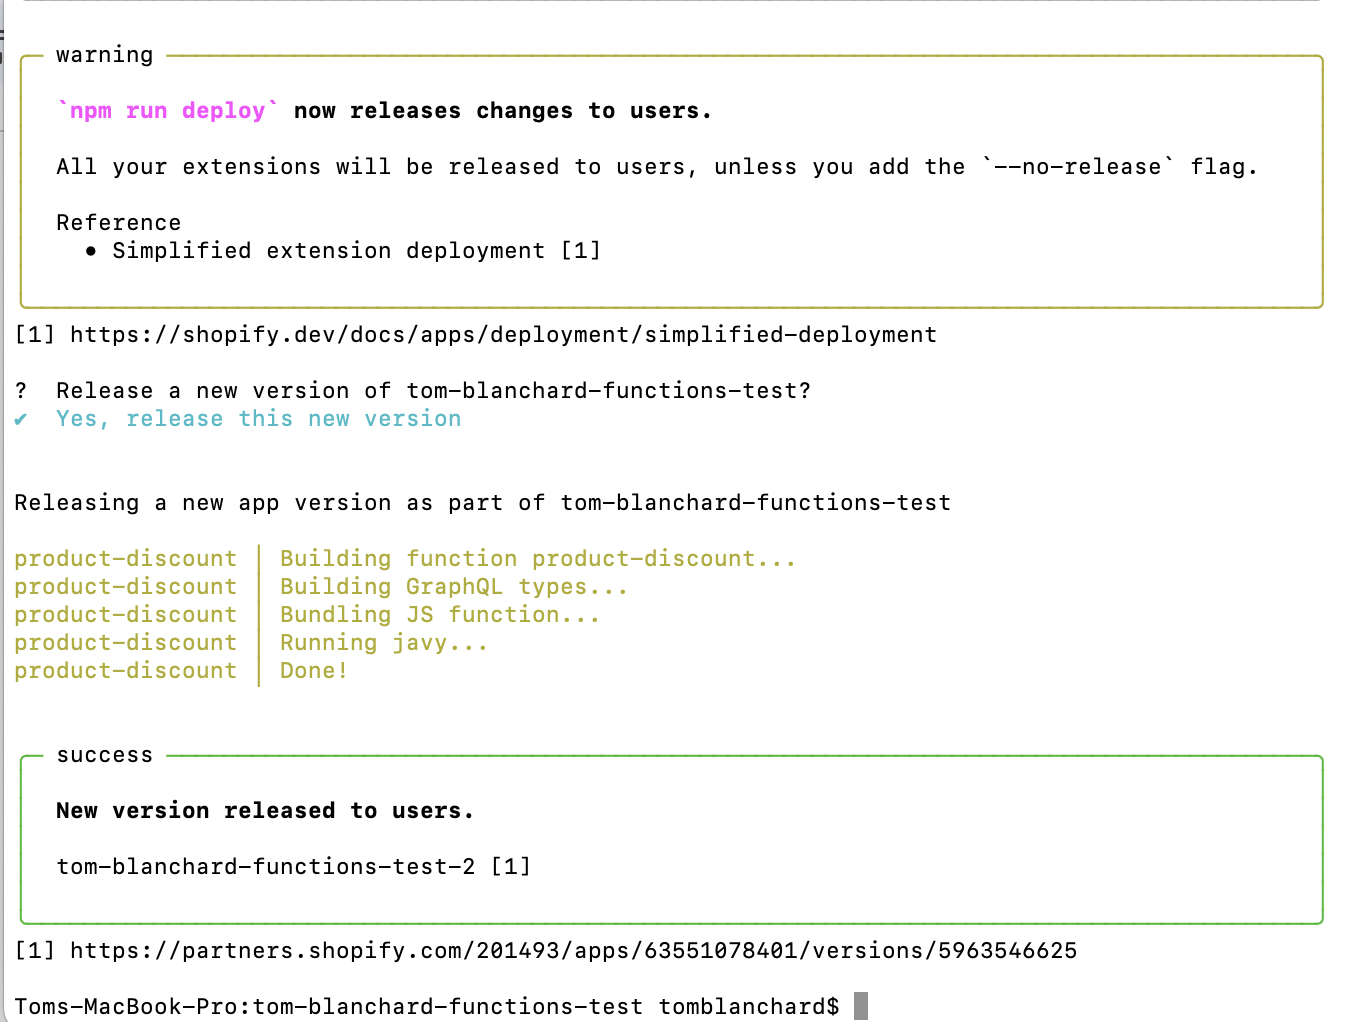
Installing the app
Let’s install this app on your store; head Shopify Partners dashboard -> Apps and find the app you just created:

Click the “Choose distribution” button and select the “Custom distribution” option:

Next, enter in the store URL you’d like to install this app on:
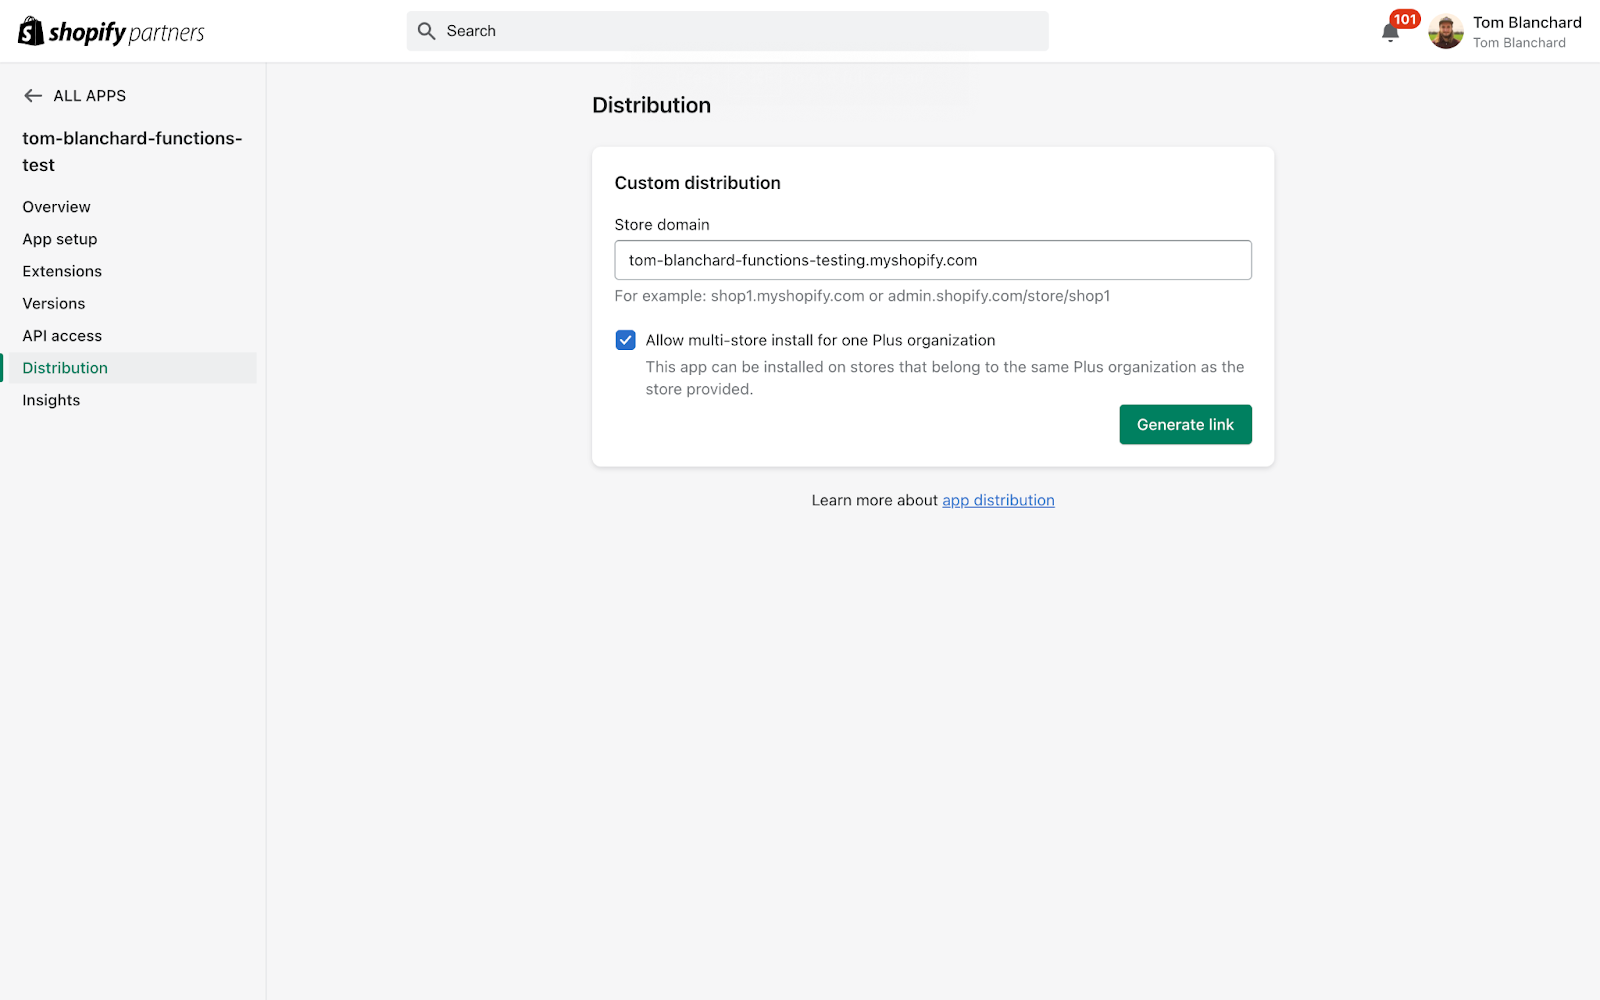
Next, click “Generate link”:

You’ll now be able to visit this URL and install the app on your store:
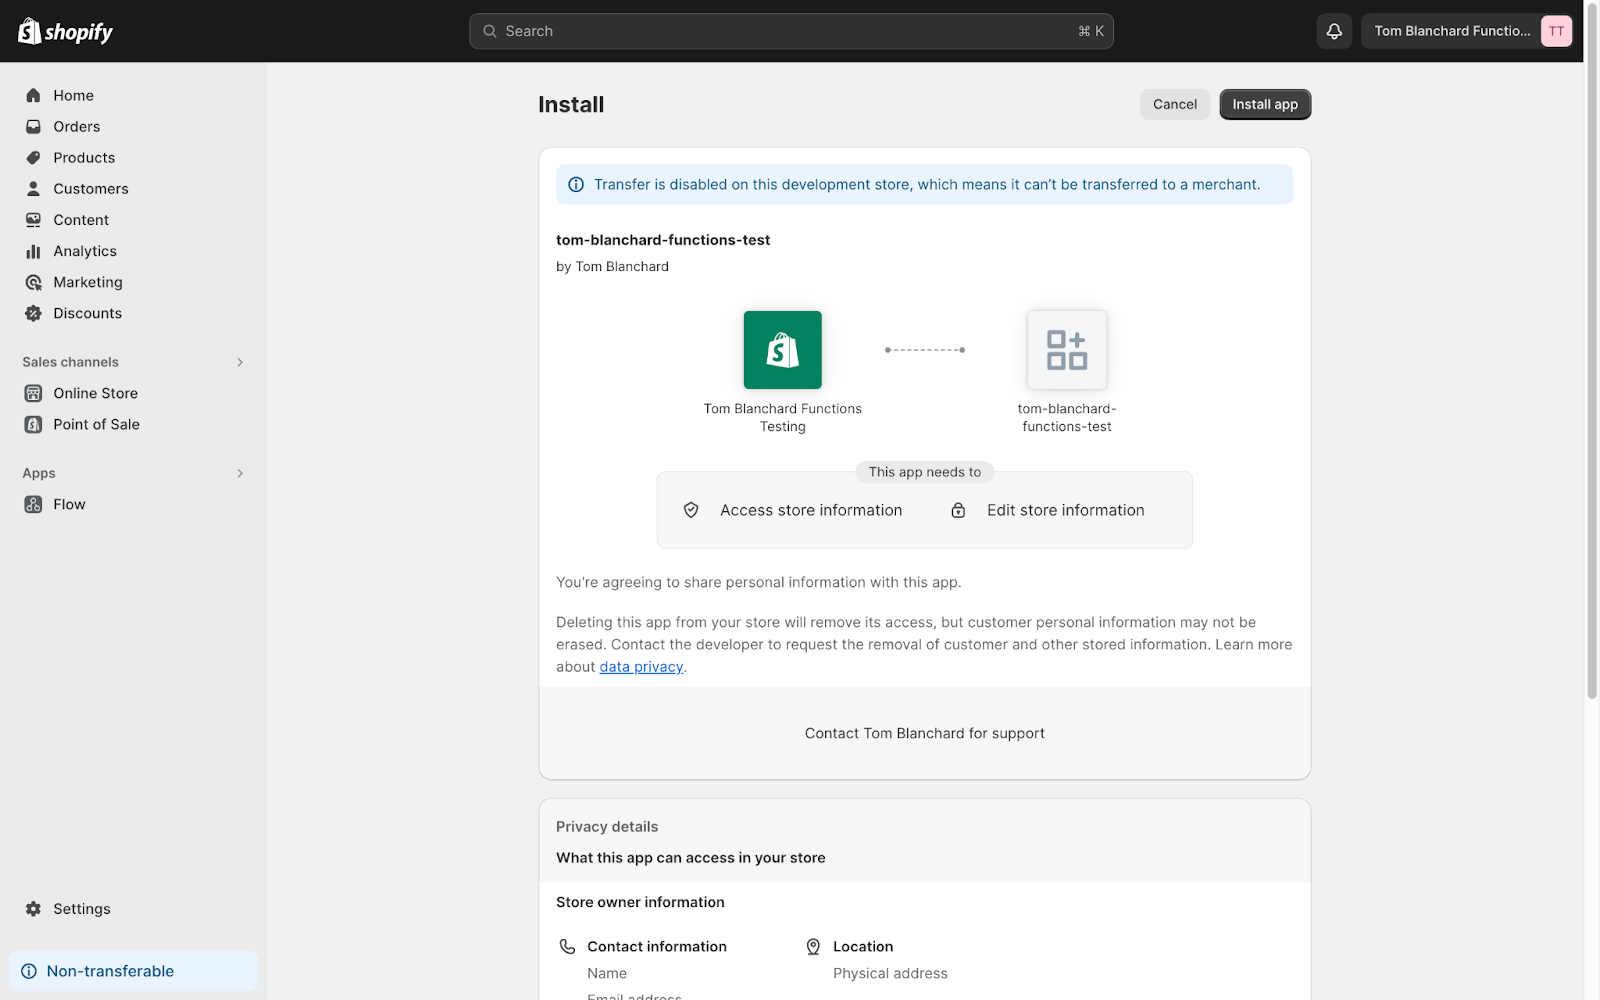
Scroll down and click “Install app”. This will have installed the app on your store but the Function we created still needs to be activated.
Activating the Function
Install the Shopify GraphiQL App by visiting this URL: https://shopify-graphiql-app.shopifycloud.com
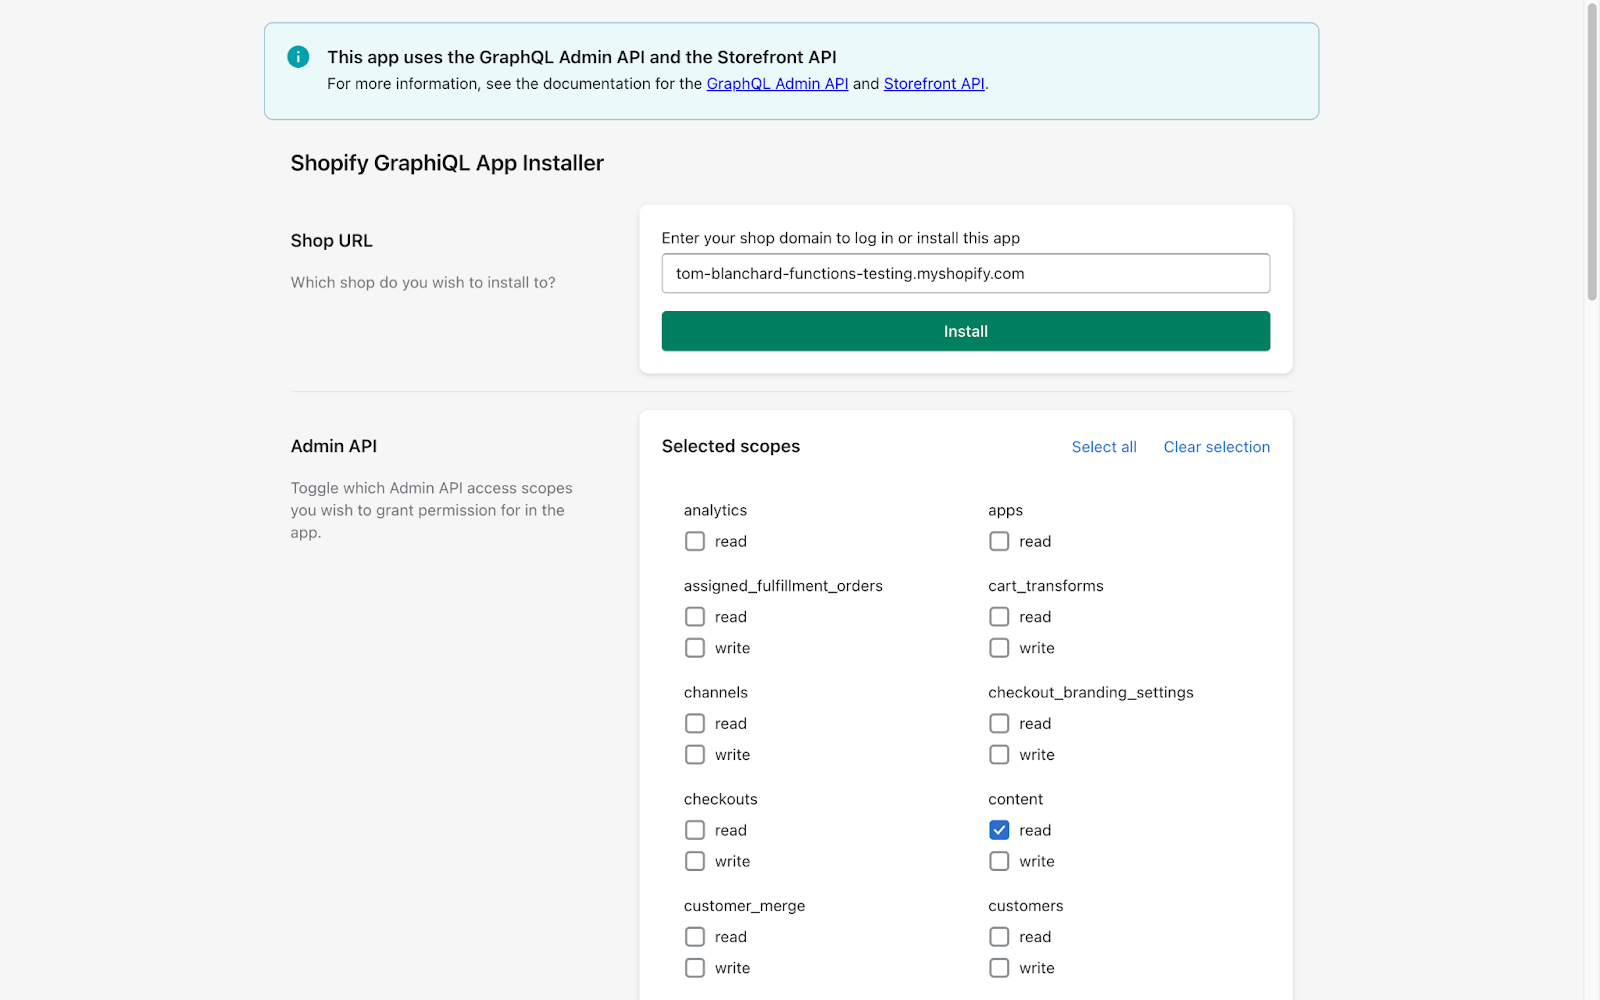
Enter in your store URL and make sure the scopes “discounts/read” and “discounts/write” are enabled then click the “Install” button. This will bring you to this page:
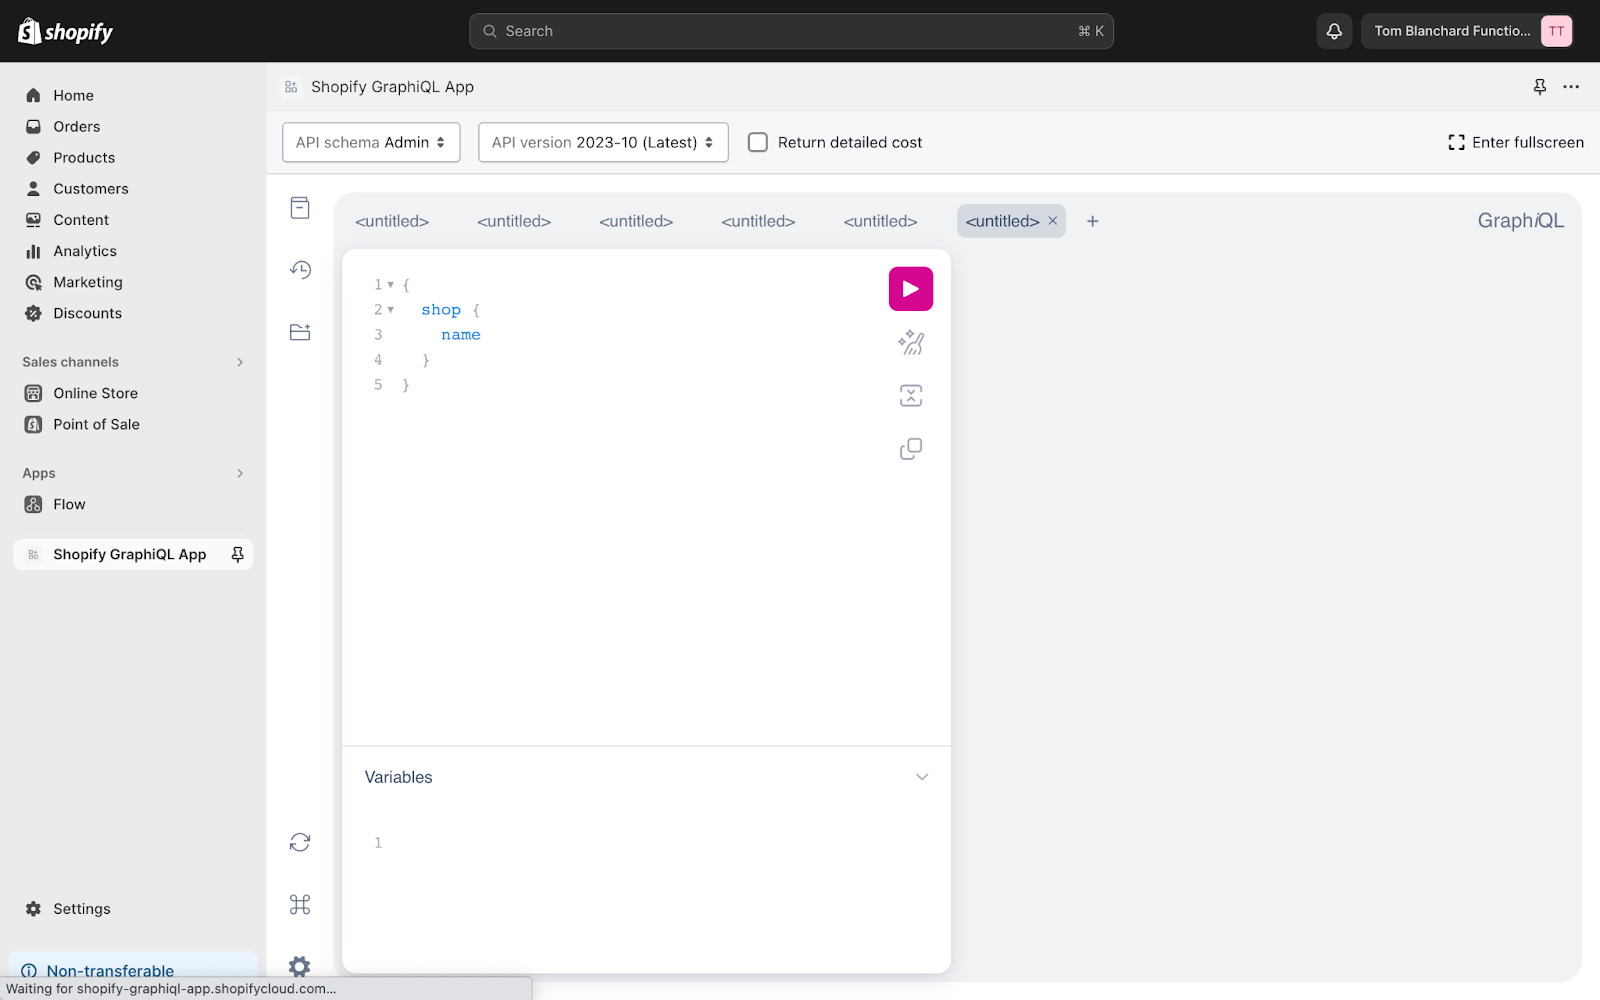
This app allows you to run GraphQL queries and mutations against your store. Now, copy/paste this code into the app and click the run button:
query {
  shopifyFunctions(first: 25) {
    nodes {
      app {
        title
      }
      apiType
      title
      id
    }
  }
}
You should see something like this:
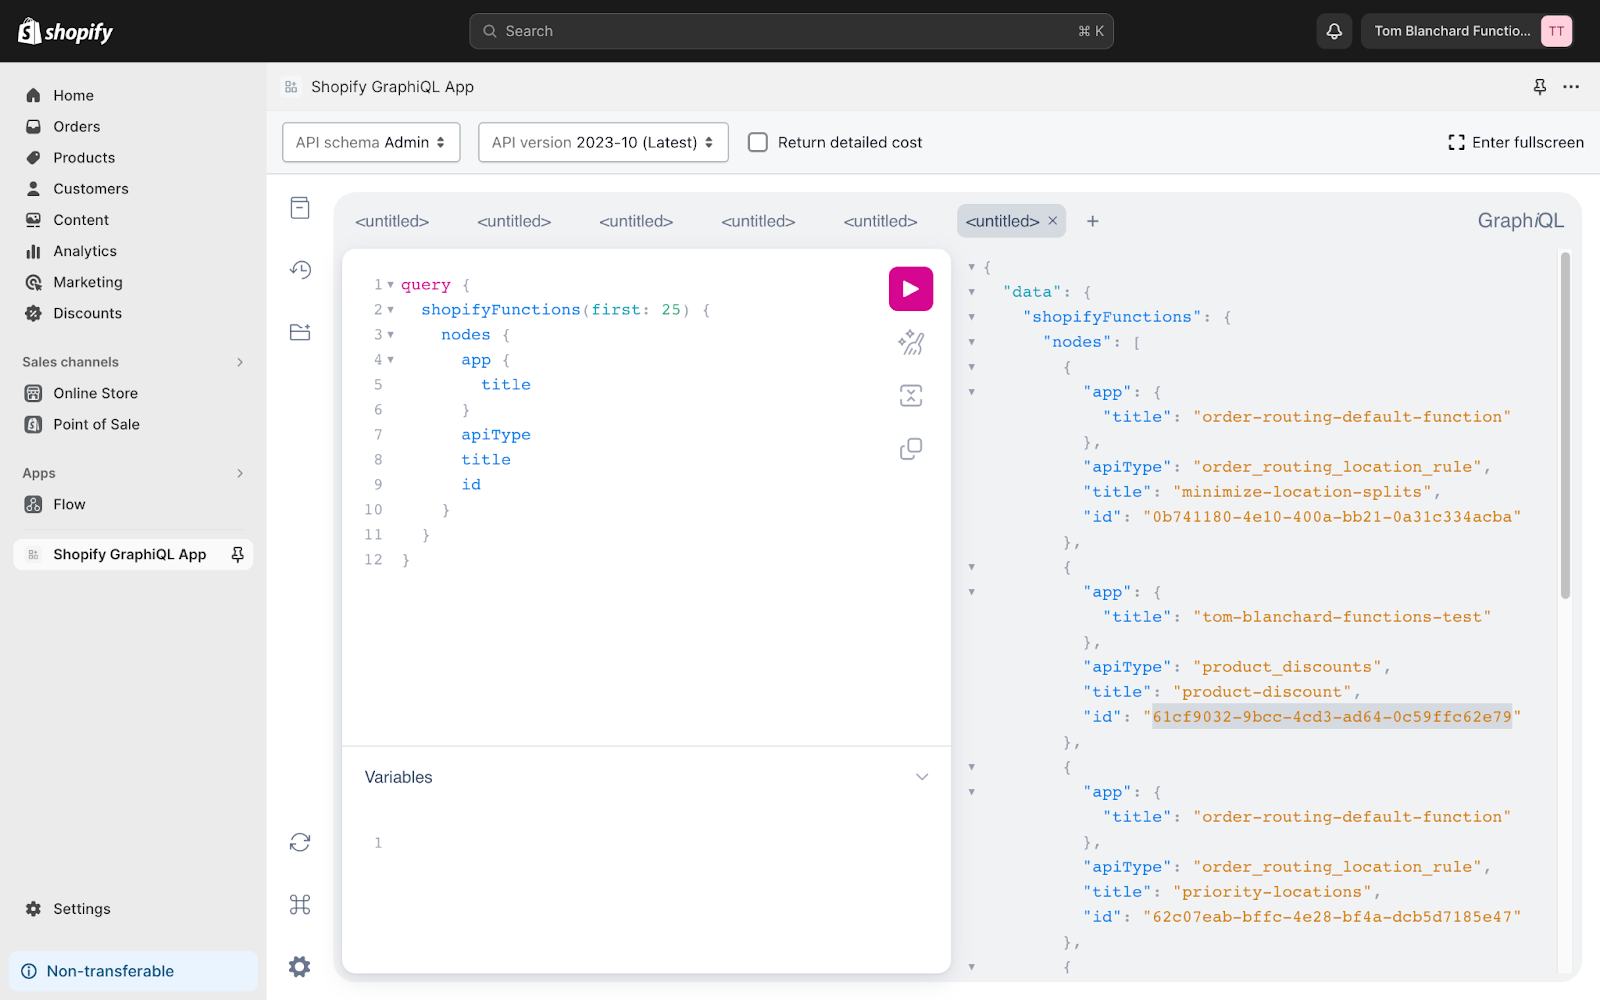
The ID highlighted in the above screenshot is the ID of the Function we need to activate so make a note of it. Next, copy/paste this code into the app, replace “YOUR_FUNCTION_ID_HERE” with the Function ID and click the run button:
mutation {
  discountAutomaticAppCreate(automaticAppDiscount: {
    title: "tom-blanchard-functions-test",
    functionId: "YOUR_FUNCTION_ID_HERE",
    startsAt: "2022-06-22T00:00:00"
  }) {
     automaticAppDiscount {
      discountId
     }
     userErrors {
      field
      message
     }
  }
}
You should now see something like this:

If you head to Shopify Admin -> Discounts you should also see this discount there:

This means your Function is now active and enabled, you should be able to see it in action by heading to the store and adding over 10 products to the cart:
You can now make any changes you want to the logic by changing the JS code in the file “extensions/product-discount/src/index.js” and run the command:
npm run deployThis will automatically reflect on the storefront.
Client-friendly configuration
With Scripts, tech-savvy clients could navigate to the Scripts editor app and manually make code changes to tweak the logic of their Scripts. I make this easier for them by defining configuration at the top of the file inside if objects, e.g. “BULK_DISCOUNTS” and walking them through how to make simple changes. This is no longer possible with Functions in the same way because clients don’t have access to the Functions code via the Shopify admin.
I’ve figured out a way to enable clients to be able to tweak Functions config in a similar fashion, leveraging shop-level metafields (credit to Sammy Isseyegh for letting me know about this). To enable this, head to the file “extensions/product-discount/src/index.js” and replace it with this:
import { DiscountApplicationStrategy } from "../generated/api";

var EMPTY_DISCOUNT = {
  discountApplicationStrategy: DiscountApplicationStrategy.First,
  discounts: [],
};

export default (input) => {
  var config = input.shop.metafield && JSON.parse(input.shop.metafield.value);

  if (!config) {
    console.error('No config metafield setup for this discount.');
    return EMPTY_DISCOUNT;
  }

  var targets = input.cart.lines
    .filter((line) => line.merchandise.__typename == 'ProductVariant')
    .map((line) => {
      var variant = line.merchandise;

      return {
        productVariant: {
        id: variant.id
      }
    }
  });

  var cartLinesQuantityTotal = input.cart.lines.reduce((total, line) => {
    total += line.quantity;
    return total;
  }, 0);

  var bulkDiscountActive = config.find((bulkDiscount) => {
    return cartLinesQuantityTotal >= bulkDiscount.quantity;
  });

  if (!bulkDiscountActive) {
    console.error('No cart lines qualify for this discount.');
    return EMPTY_DISCOUNT;
  }

  return {
    discounts: [
      {
        targets,
        value: {
          percentage: {
            value: bulkDiscountActive.discount
          }
        },
        message: bulkDiscountActive.message
      }
    ],
    discountApplicationStrategy: DiscountApplicationStrategy.First
  };
}
This code does exactly the same thing, except the configuration is no longer hard-coded and uses the metafield defined under “shop.metafields.tom-blanchard-functions.config”.
Next run the command:
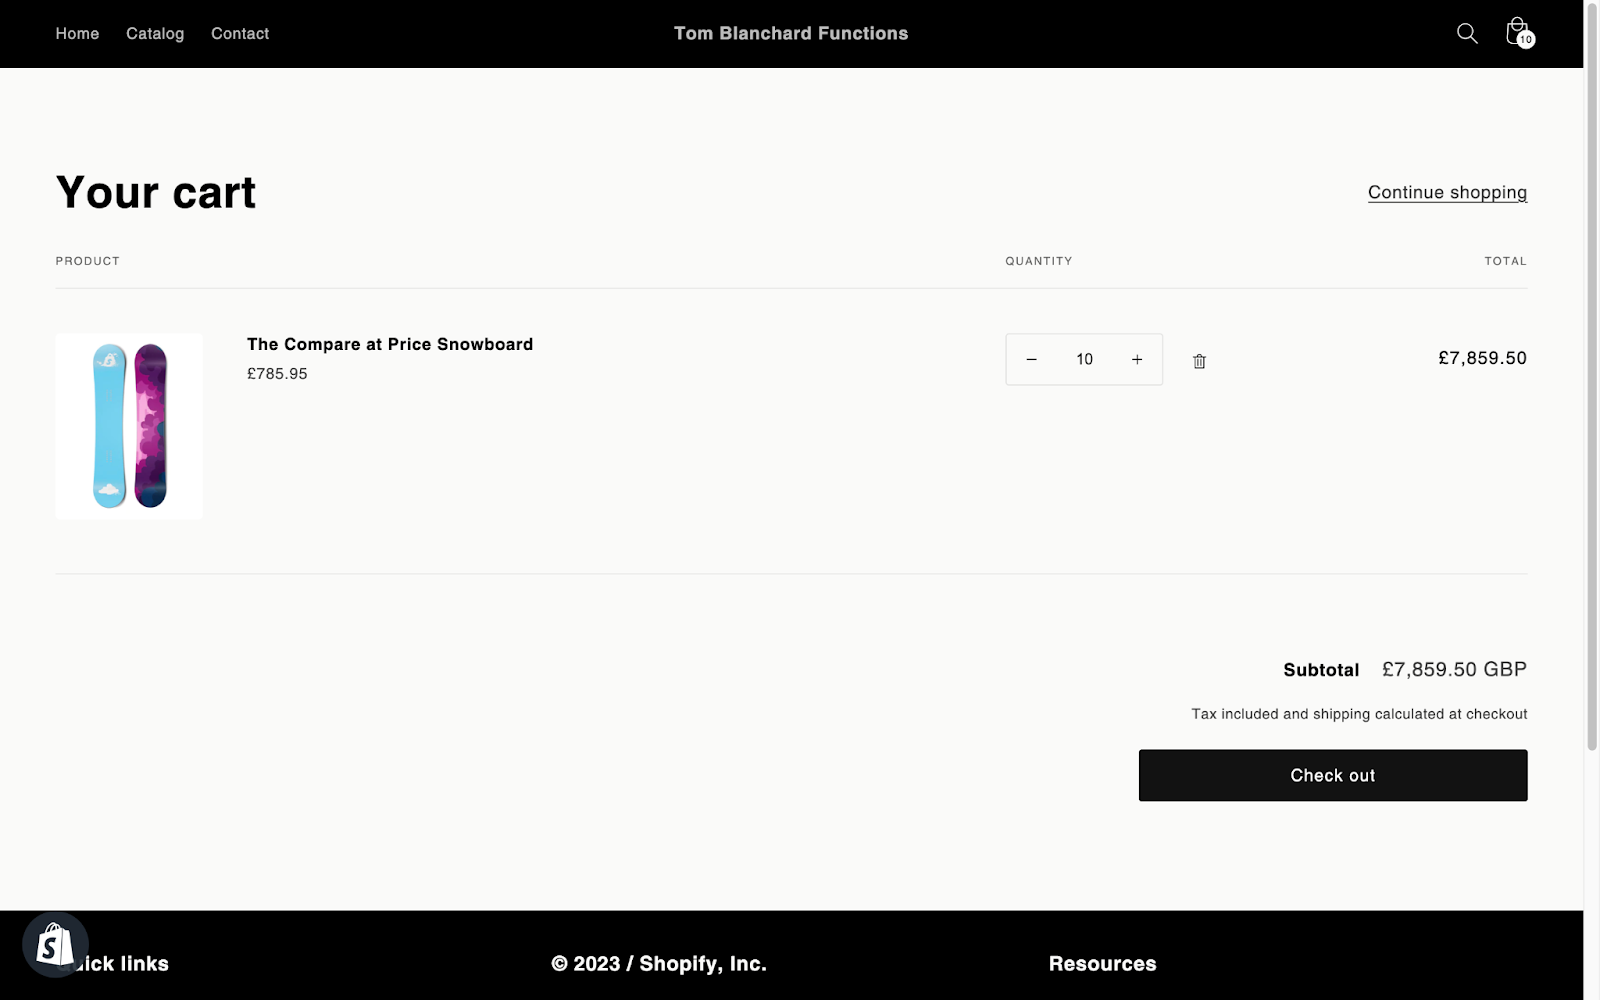
npm run deployThis will cause the Function to stop working on your storefront because the config metafield hasn’t been created yet:
To create this metafield, install your favorite metafield editor app, e.g. Metafields Guru. Once installed, you should see this:

Head to “Shop”, click the “Create metafield” button:
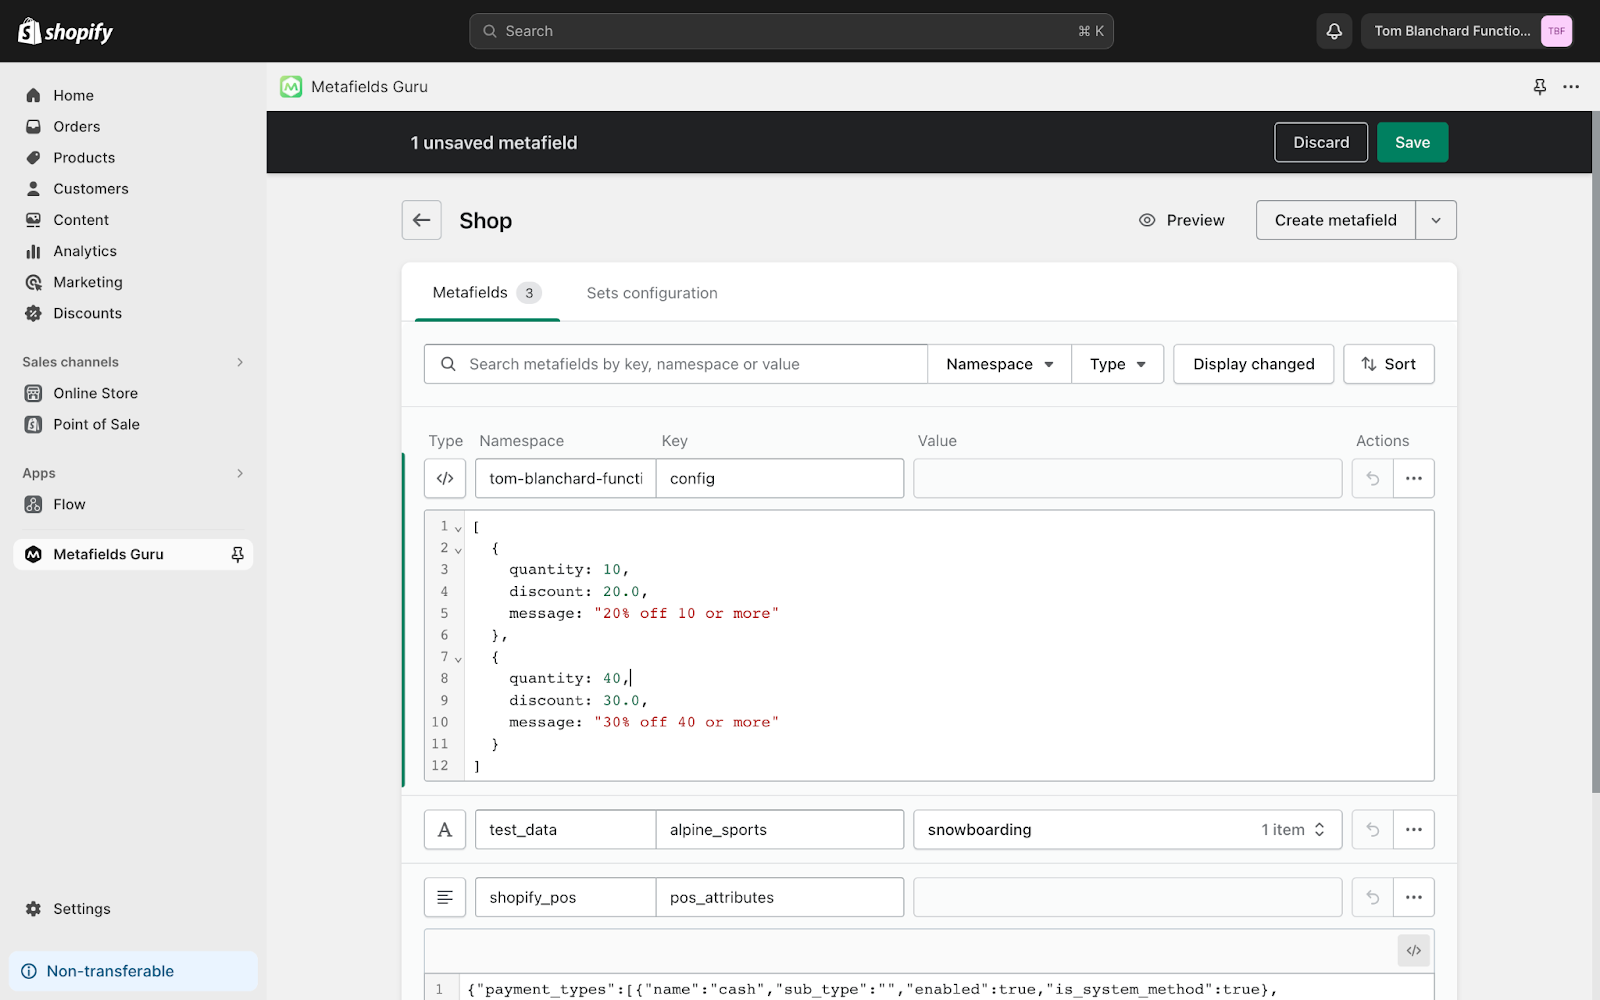
Set “Type” to “JSON string”, set “Namespace” to “tom-blanchard-functions, set “Key” to “config” and set “Value” to the below code:
[
  {
    "quantity": 10,
    "discount": 20.0,
    "message": "20% off 10 or more"
  },
  {
    "quantity": 40,
    "discount": 30.0,
    "message": "30% off 40 or more"
  }
]
Now, click the “Save” button and the Function should now work again on the storefront:

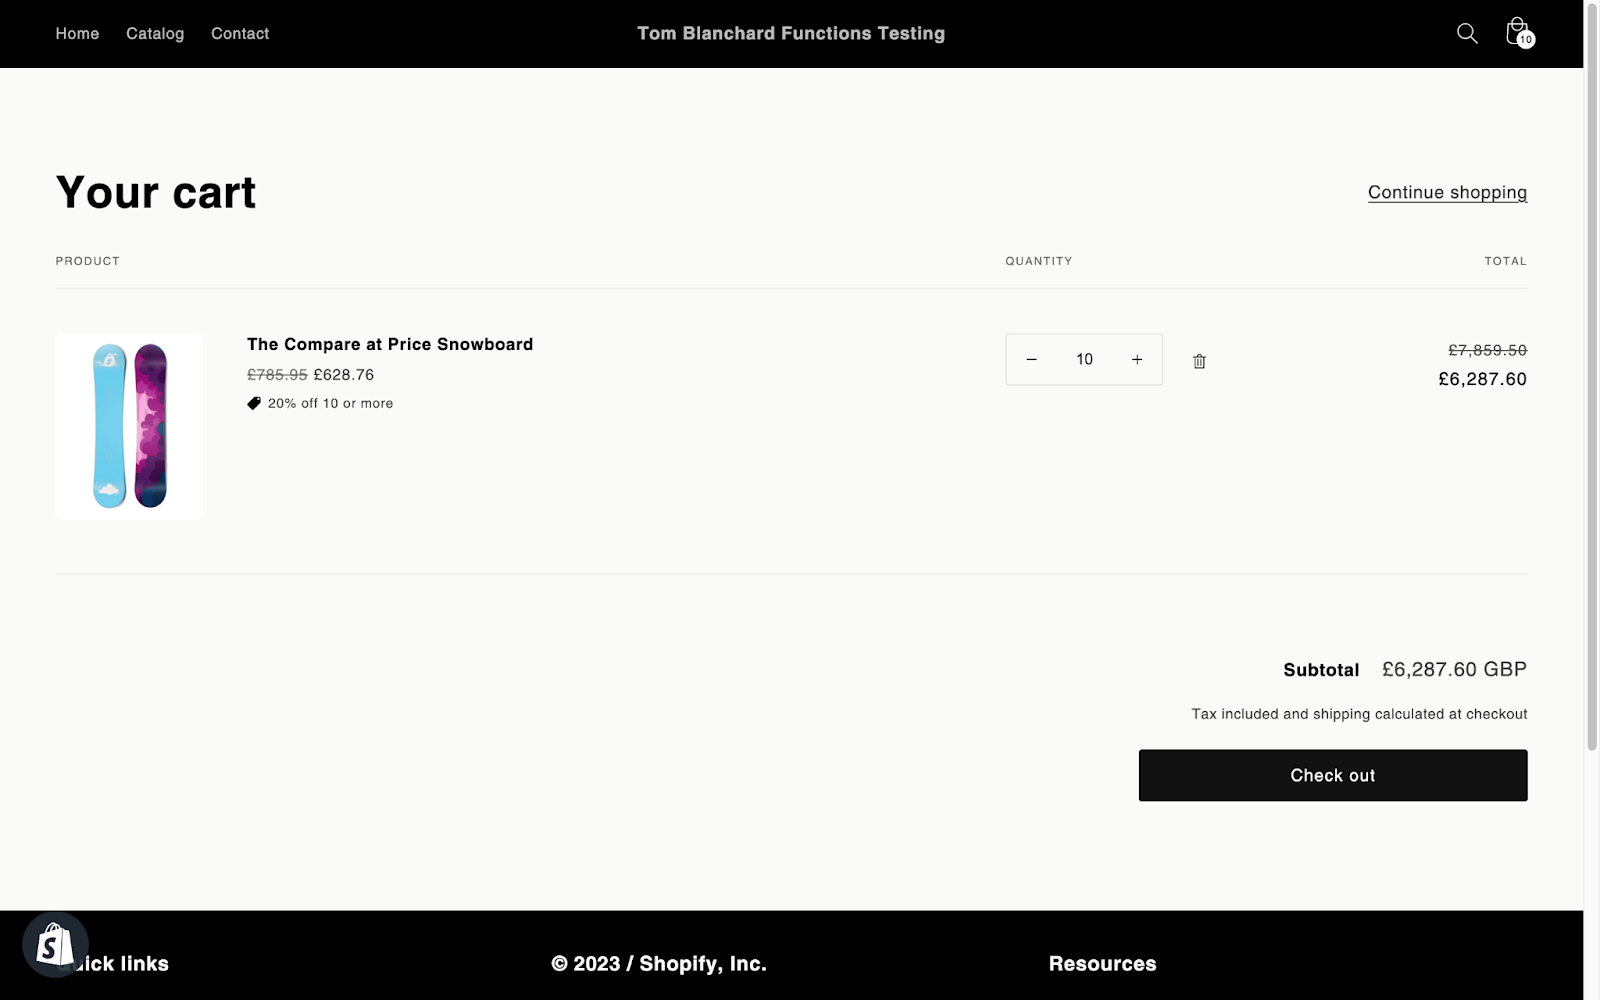
Now, the client will be able to change this metafield whenever they please via the Shopify admin to update config such as quantity amounts and wording etc. See the below example:
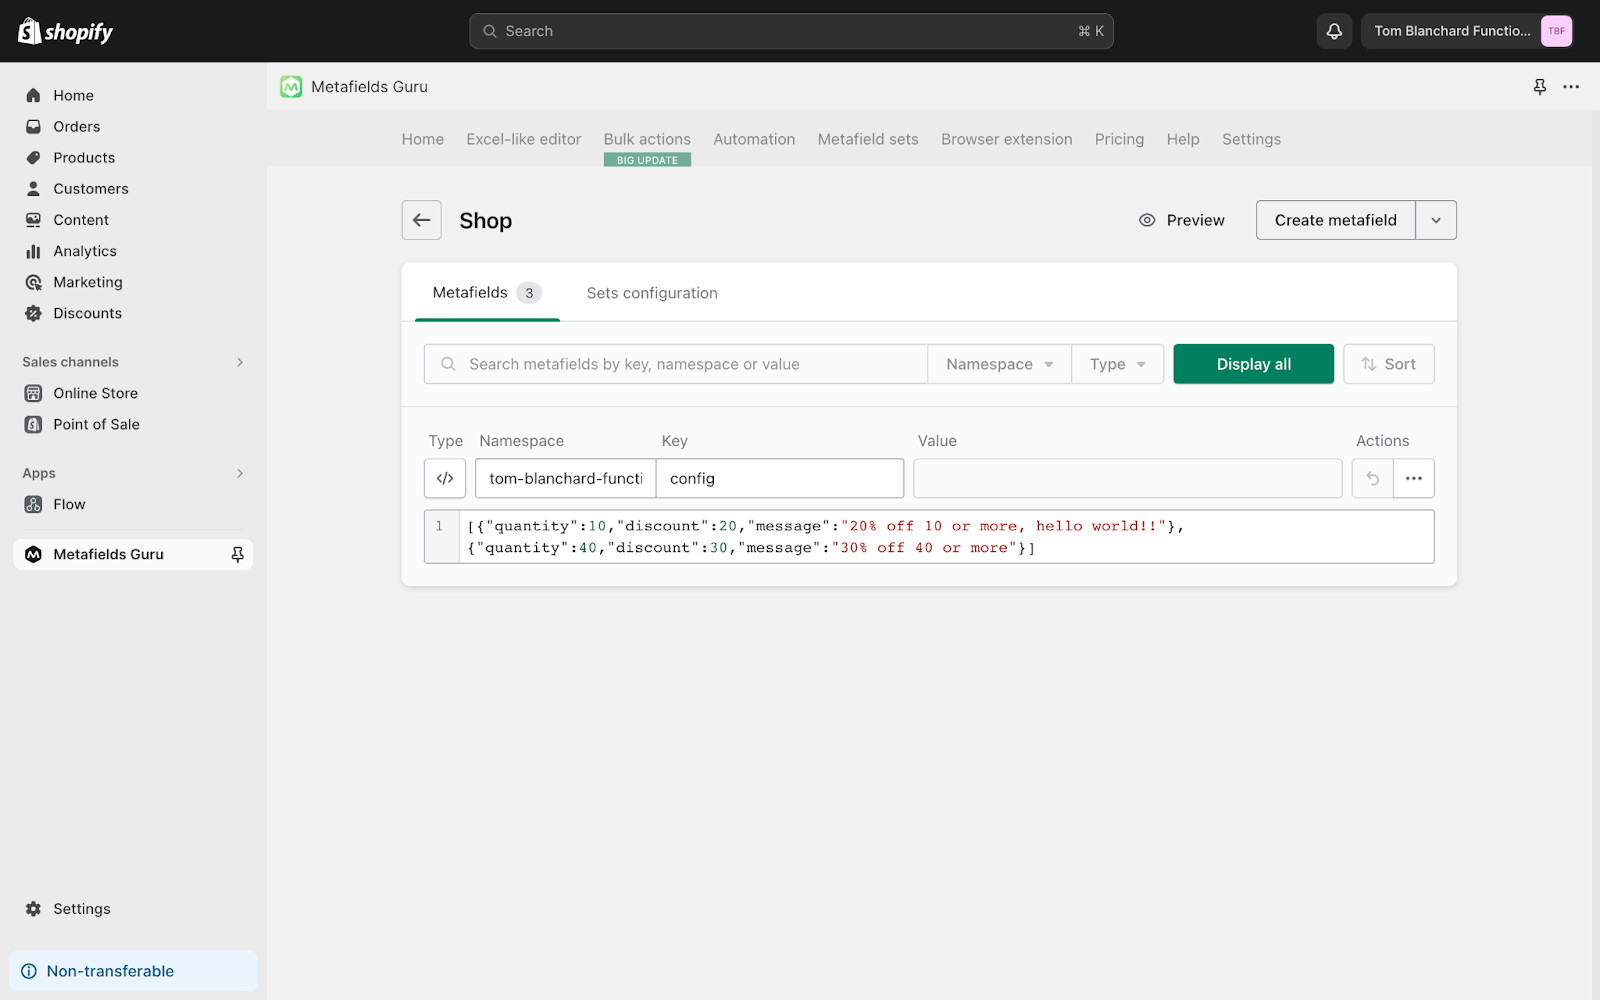
I’ve added “hello world!!” to the discount message and it’s now automatically reflected on the storefront with no need to re-deploy the entire app.

Parting thoughts
This seems like a lot of steps to reproduce the functionality we get with the more easy to use Scripts approach but I like the fact that I can use my local IDE for development instead of writing code in the browser editor. You could also place this app inside a Git repository and use source control to keep track of changes which you can't do with Scripts without manually copy/pasting every time you make changes.
One thing I haven't covered in this guide to keep it concise is the development preview feature that Functions gives us via the "npm run dev" command. This allows us to make changes to the Function code and it'll automatically be rebuilt and pushed to Shopify so you can immediately test your changes and iterate quickly before finally deploying.
Shopify Functions are still a work-in-progress and are constantly being improved on so I imagine the amount of steps taken to get setup will reduce over time. A developer at Shopify let me know that they're specifically looking to eliminate the GraphiQL step for extension-only apps so keep an eye out for that.
We don’t quite have feature-parity with Shopify Scripts at this time of writing but once they do, I think they’ll be a game changer and make Scripts look very inferior. See this article for more details about the limitations of Functions.